back Navigating the Timeline
Learn about the video timeline and how to navigate it.
Apart from the video itself, the timeline is the second most important element of the video annotation tool. It shows at which point of time you currently are in the video and it visualizes all annotations of the video at a glance. Additionally, it is used for the more advanced ways of editing annotation clips.
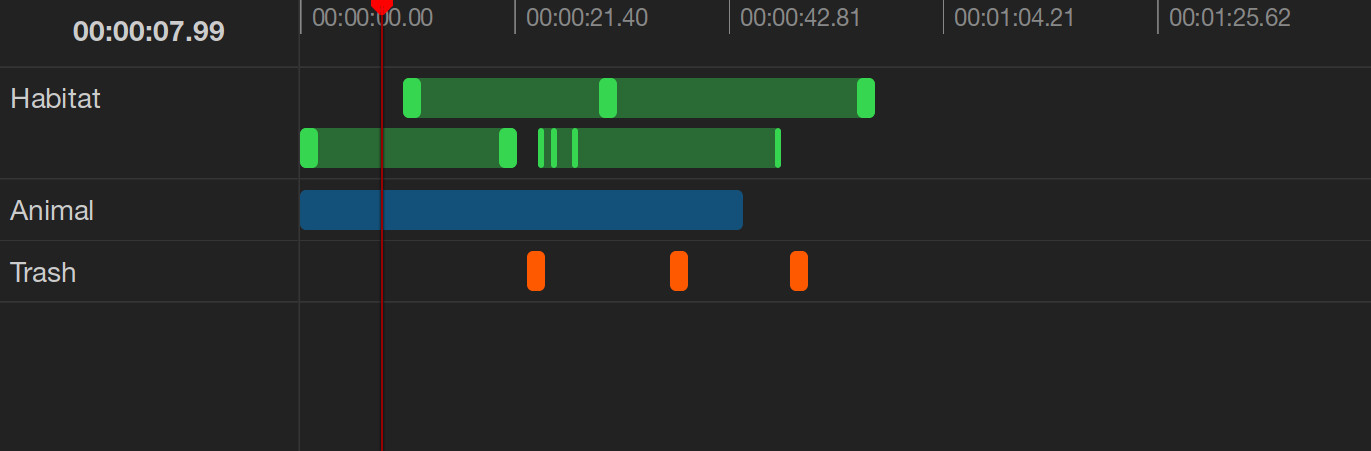
Current Time
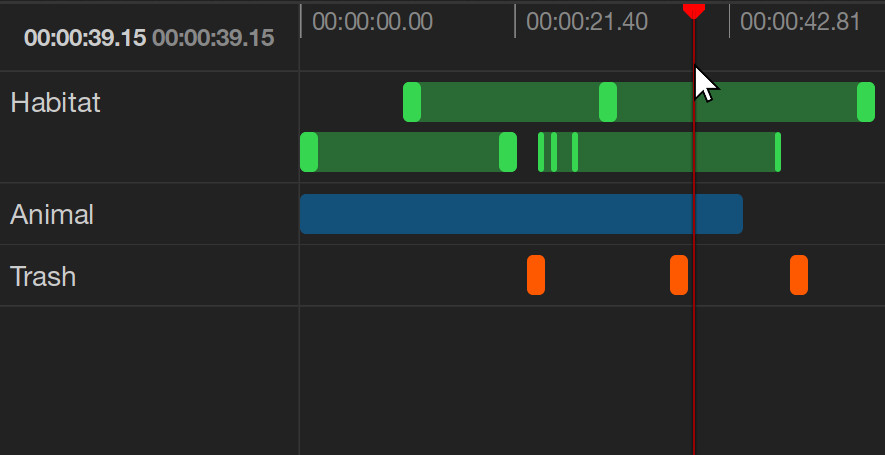
The current time of the video is displayed at the top left corner of the timeline. Additionally, a red line moves along the time axis at the top of the timeline, indicating the current time. You can quickly jump to a specific time with a click on the time axis. While you move the mouse over the timeline, the time at the mouse position is indicated with a grey line in the time axis and in muted text color beside the current time of the video.

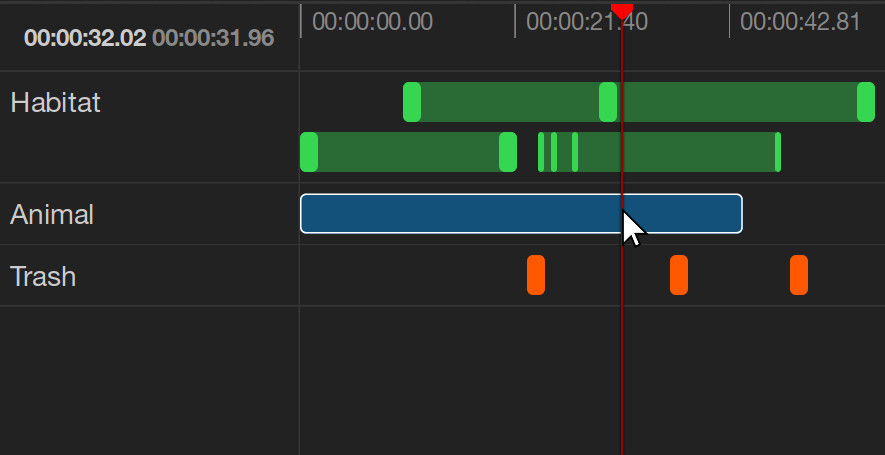
Another way of jumping to a specific time is to click on an annotation clip or keyframe bar (see below), selecting it in the process. If a keyframe bar is clicked, the current time jumps to the time of the keyframe instead of the time at the mouse position.
You can zoom along the time axis by holding the Shift key and using the mouse wheel. Move the zoomed-in timeline left and right by horizontal scrolling with the touchpad or grabbing and moving the timeline with the cursor.
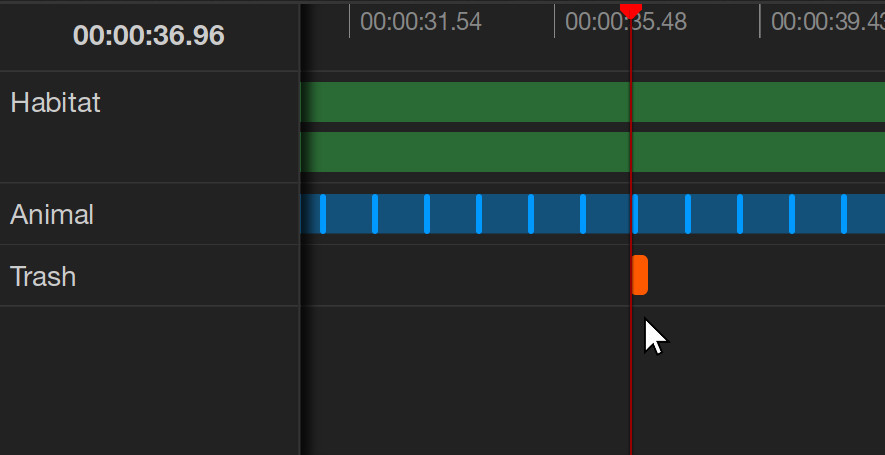
Annotation Tracks
The annotations of the video are grouped by their label into several tracks. Each track shows the label name at the left and the annotations along the time axis at the right. Annotations of the same track are displayed in the color of the label to which the track belongs. If multiple annotation clips occur at the same time, they are stacked in the same track. Note that multiple labels can be attached to a single annotation. This means that the same annotation may be displayed in more than one track or even multiple times in the same track if different users attached the same label.
Annotations
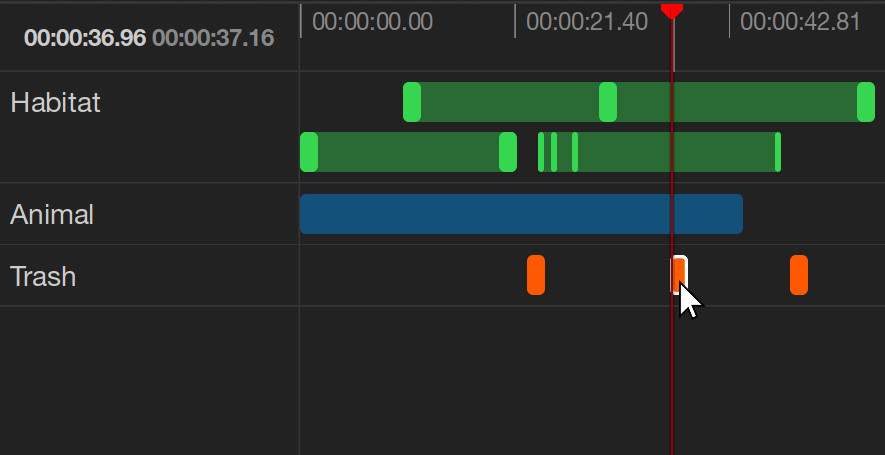
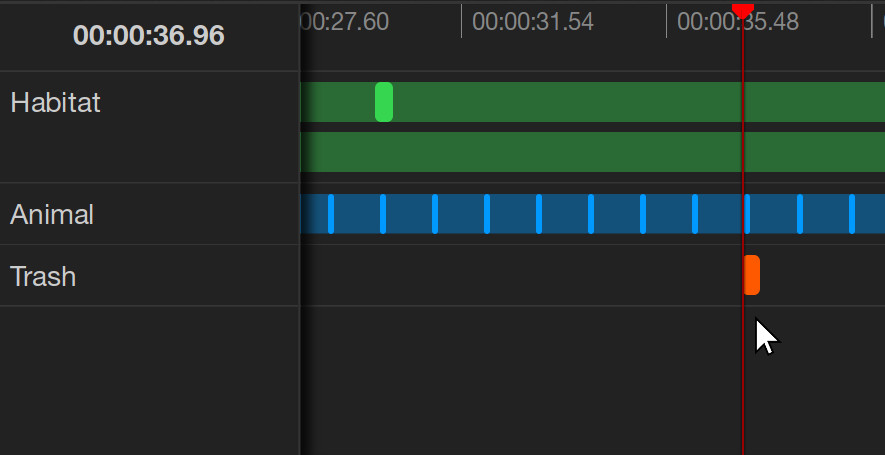
Single-keyframe annotations are displayed as single bars at the time they occur along the time axis. Annotation clips, which consist of multiple keyframes, are displayed as multiple connected bars. The first and the last keyframe determine the duration of the annotation clip. Annotation clips can be displayed in three different ways, depending on the space between two of their keyframes and the current zoom along the time axis. In the most condensed form, the keyframes of an annotation clip are invisible. In the partly condensed form, the keyframe bars are visible but smaller than in the regular form.


Annotations can be selected by clicking on them in the timeline. This automatically sets the current time of the video to the time at the position where the annotation was selected. If a keyframe is selected, the current time jumps to the time of the frame. Multiple annotations can be selected at the same time by pressing the Shift key and clicking on the annotation.
Read on and learn how to edit video annotations.