back Creating Image Annotations
Learn about all the tools that are available to create new image annotations.
An image annotation is a point or a region on an image that can have one or more labels attached to it. The image annotation tool offers different shapes that can be used to create new annotations. Each shape is suited best for specific annotation tasks so choose the shapes you want to use wisely before you begin annotating.
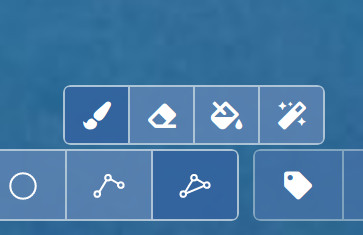
You can activate a tool by clicking the button in the toolbar at the bottom:

Before one of these tools cen be activated, you have to select a label from the label trees tab in the sidebar. A new annotation can only be created if there is a label attached to it. The currently selected label will be attached to all new annotations that you create. As an alternative to a manually selected label, you can also enable LabelBOT.
Once you have activated an annotation tool you can start creating annotations. You can choose from the following shapes:
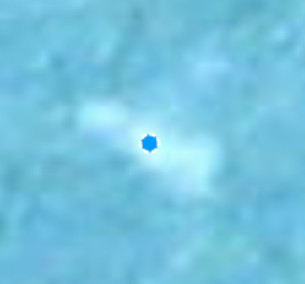
Point
A point annotation consists of a single coordinate. Be careful when you want to choose this shape because often you want to annotate a specific area on the image and not just a single point. Don't let the area of the point icon on the image fool you into believing the point annotation covers all of this area.
To draw a point, activate the point annotation tool and then click on the point on the image that you want to annotate.
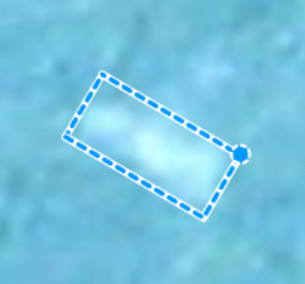
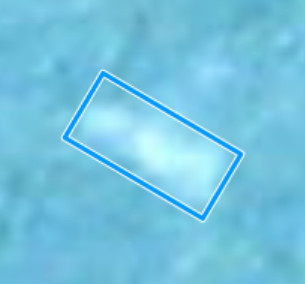
Rectangle
A rectangle consists of four coordinates and covers a specific area on the image. A rectangle is drawn with three mouse clicks. The first click specifies the starting point of the rectangle. This point will be the center of one of the edges of the final rectangle. The second click specifies the center of the edge parallel to the edge of the first point. With these two points the length and rotation of the rectangle is set. The third click finishes the rectangle by specifying one of its corner points, thus determining the width of the rectangle.
Aligned Rectangle
In addition to the regular mode to draw rectangles, there is the aligned rectangle tool. The button to activate the aligned rectangle tool appears when you hover your cursor over the button of the rectangle tool.
An aligned rectangle is a rectangle that is always aligned with the image axes (i.e. its edges are always horizontal and vertical). It is drawn with two mouse clicks. The first click specifies one corner of the aligned rectangle. The second click specifies the opposite corner, completing the aligned rectangle. This is a quick and convenient way to draw bounding boxes around objects in the image.
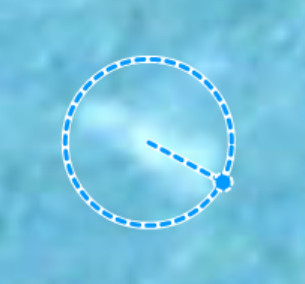
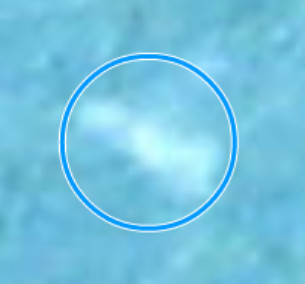
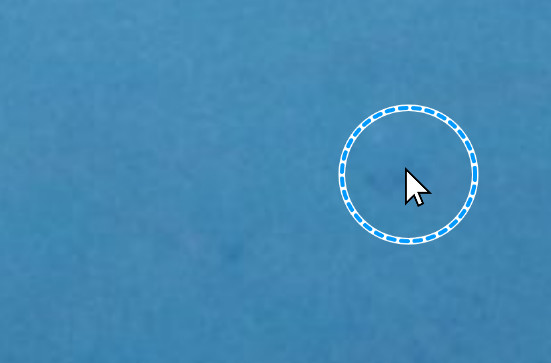
Circle
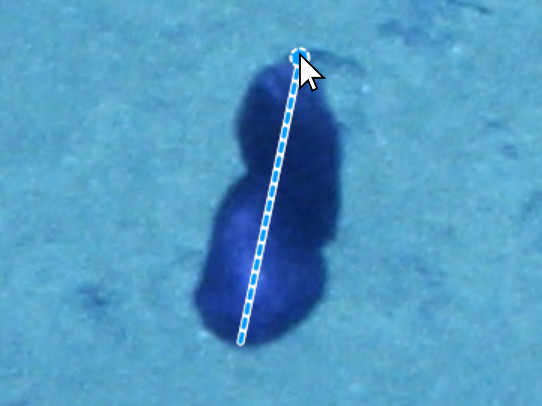
A circle consists of a center point and a radius and covers a specific area on the image. Two mouse clicks are required to draw a new circle. The first click determines the center point of the circle similar to a point annotation. The second click sets the radius of the circle which is the distance between the two points of the first and the second click.
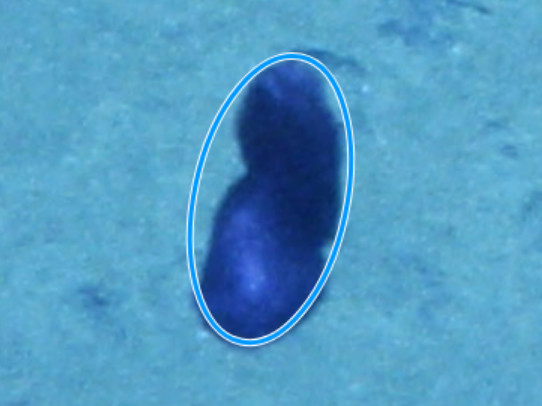
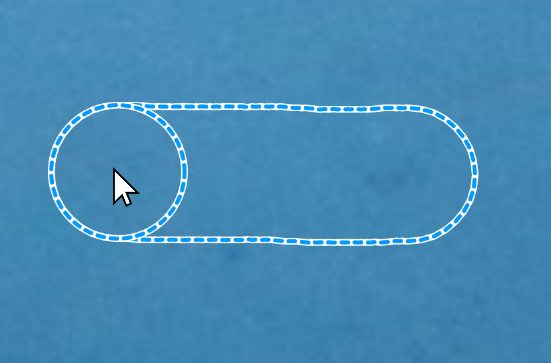
Ellipse
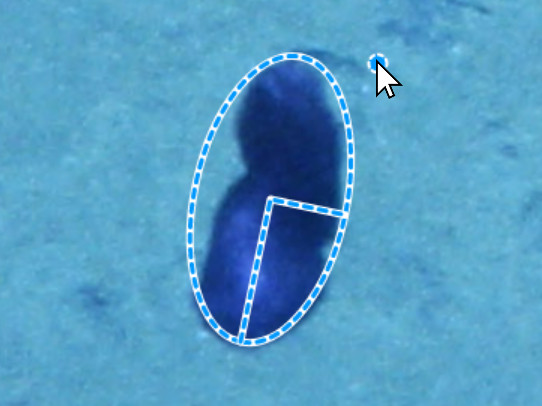
In addition to the regular mode to draw circles, there is the ellipse tool. The button to activate the ellipse tool appears when you hover your cursor over the button of the circle tool:

An ellipse consists of a center point and two radii and covers a specific area on the image. Ellipses are drawn similar to rectangles. The first two clicks define the first axis and diameter. The third click defines the second diameter.

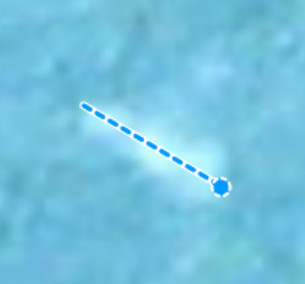
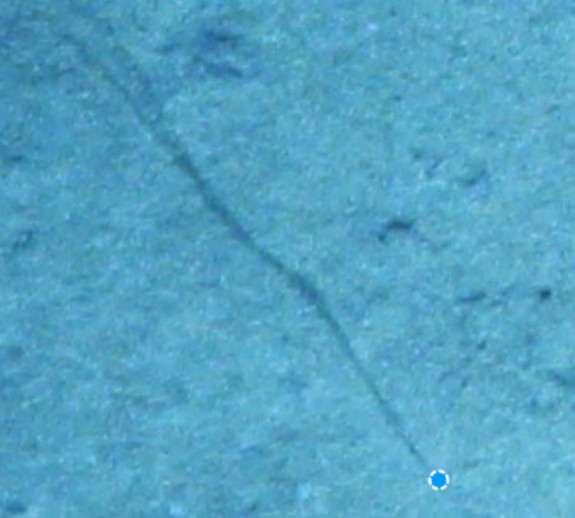
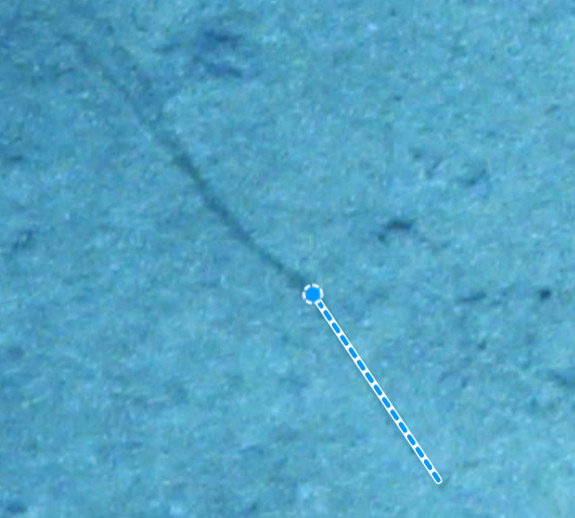
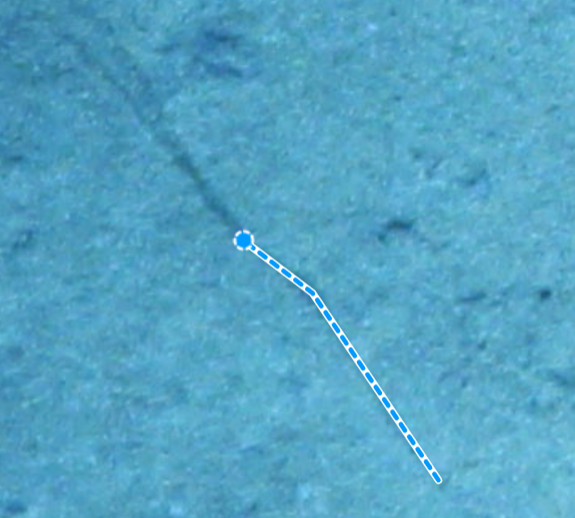
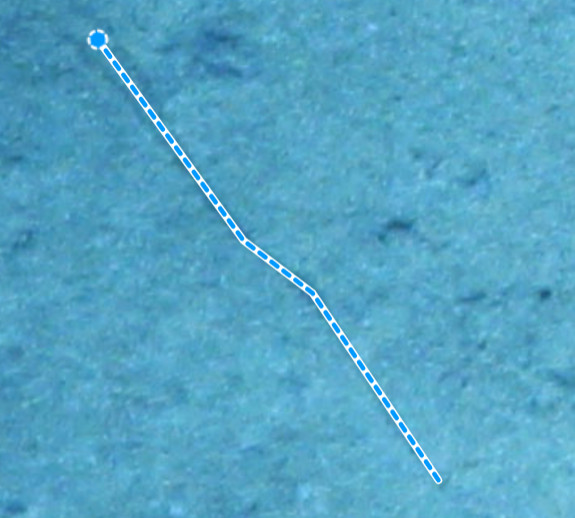
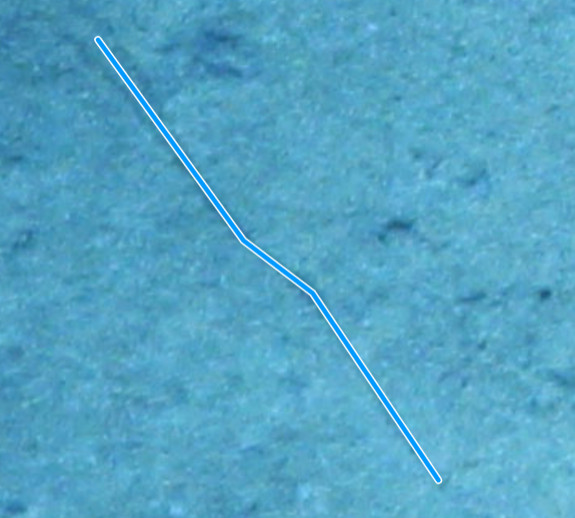
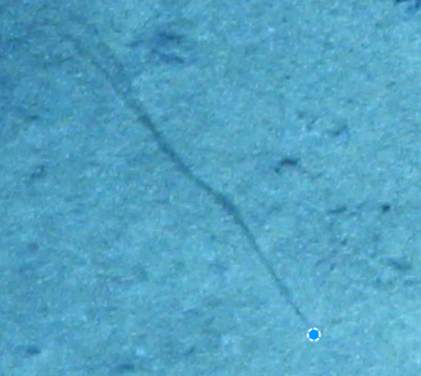
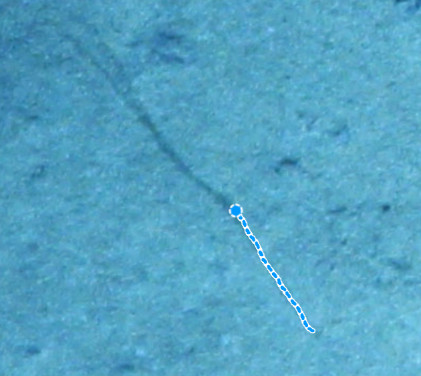
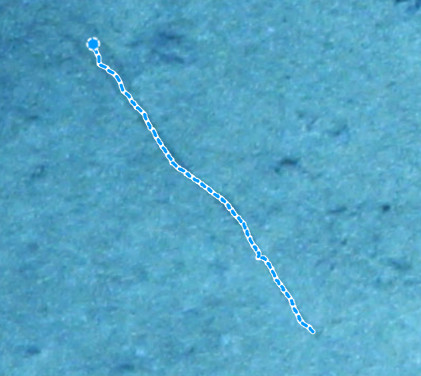
Line String
A line string consists of two or more coordinates forming a line. Just like the point, this shape does not cover an area on the image so be careful when you want to use it. This shape is useful if you want to measure lengths. Each click adds a new coordinate to the line string. To finish a line string, click twice on the last coordinate (once to add it to the line string and once to finish the line string).
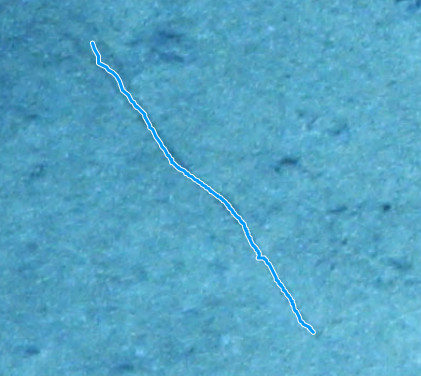
Freehand
You can also draw a line string in freehand mode. To do this, press the Shift key on your keyboard before you make the first mouse click and start drawing a line string. Keep Shift and the mouse button pressed and move the mouse to draw a line string along the path that your cursor takes. Release the mouse button to finish the line string. Press and release shift while you draw to switch between freehand and normal drawing mode.
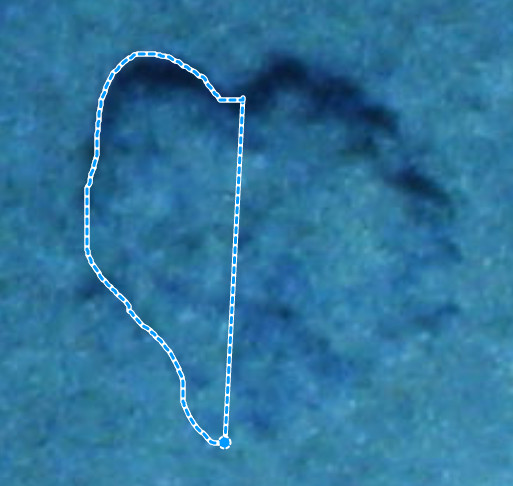
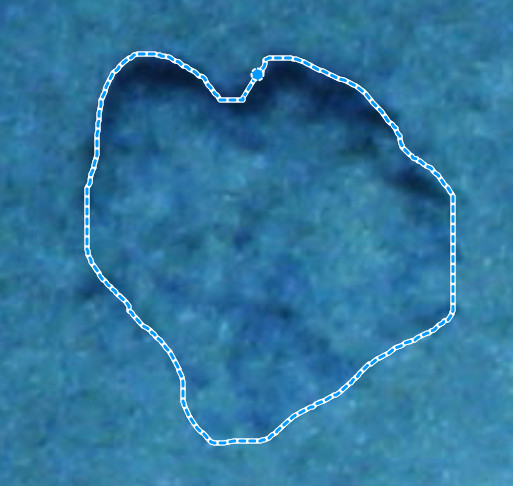
Polygon
A polygon consists of three or more coordinates enclosing a specific area on the image. You can draw a polygon similar to drawing a line string coordinate by coordinate. Click twice on the last coordinate to close and finish the polygon.
Freehand
Just like line strings, polygons can be drawn in freehand mode by pressing the Shift key.

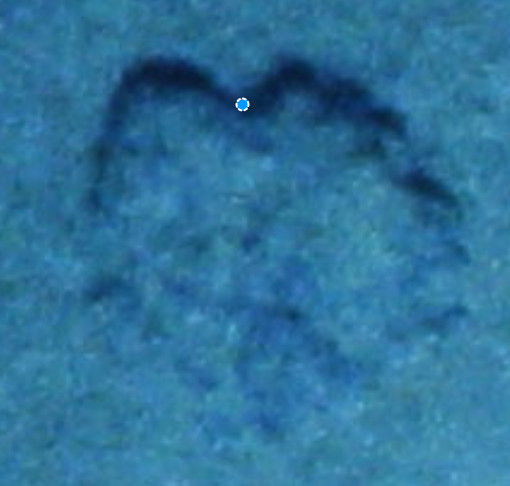
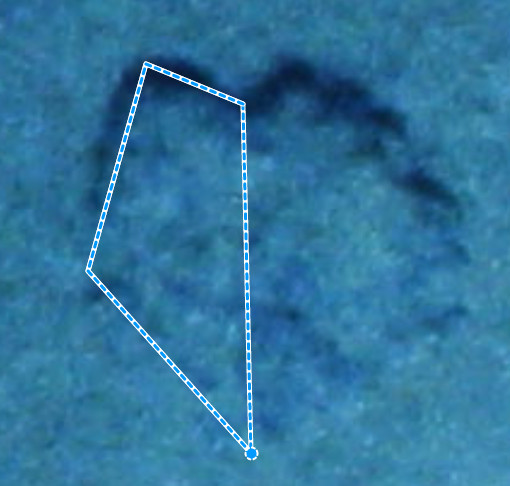
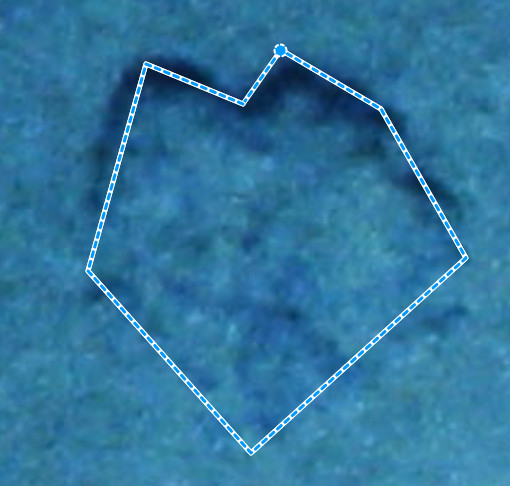
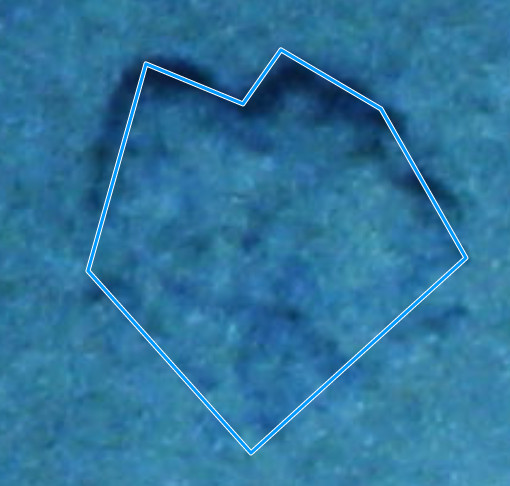
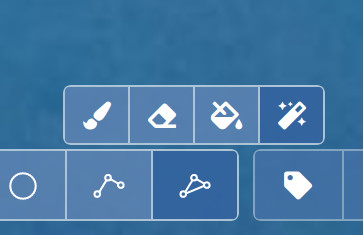
Magic Wand
In addition to the regular and freehand modes to draw polygons, there is the magic wand tool. This tool can detect a region where the pixels share similar colors and draw a polygon around it. The button to activate the magic wand tool appears when you hover your cursor over the button of the polygon tool:
When the magic wand tool is activated, press and hold the mouse button at roughly the center of the region or object you want to annotate. Now you can "grow" the detected region by pulling away the cursor from the point where you initially pressed the mouse button. Release the mouse button once you are satisfied with the detected region. This will create a new polygon annotation.
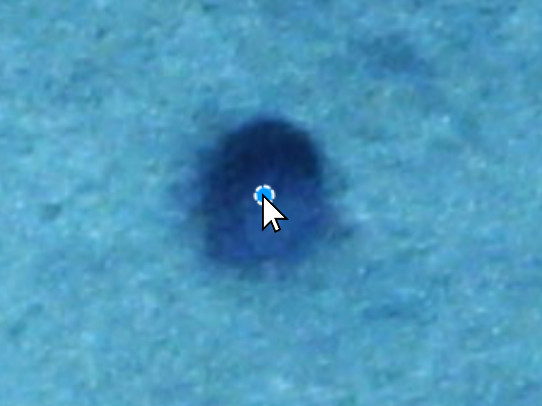
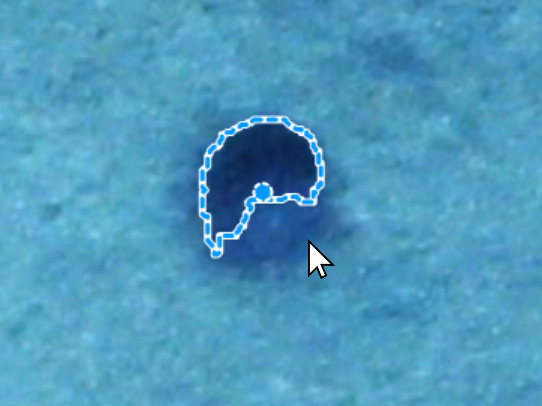
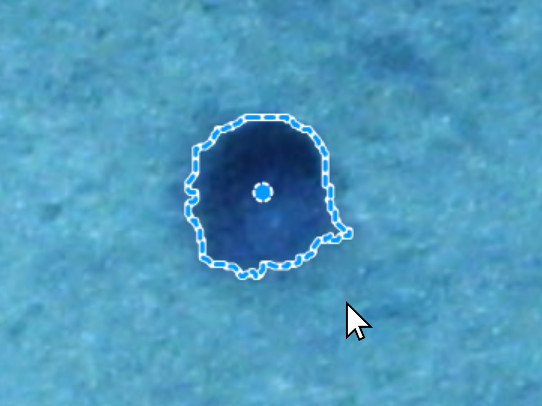

To abort the process, move the cursor back to the point where you initially pressed the mouse button and an "×" symbol will appear. If you release the mouse button here, the detected region will be discarded. If you hold the Shift key while you move the cursor, the "×" symbol will not appear and the region will not be discarded no matter how close the cursor is to the initial point.

Internally, the magic wand tool uses a scanline flood fill algorithm with a variable threshold to detect a region. The flood fill algorithm starts with the pixel at the point where the mouse button was initially pressed and adds all neighboring pixels to the detected region that don't differ too much from the color of the initial pixel. The accepted difference is computed according to a specific threshold. The threshold is dynamically updated and depends on the distance of the cursor to the point where the mouse button was initially pressed. The larger the distance/threshold, the more pixels will be added to the detected region.
The magic wand tool uses your current view of the image for reference and not the original image itself. This means that you can draw more detailed polygons when your view is zoomed in and less detailed polygons when your view is zoomed out. Also, the detected region can never get larger than your current viewport.
Brush
The polygon brush tool allows you to "paint" polygons with a circular brush. The button to activate the polygon brush tool appears when you hover your cursor over the button of the polygon tool:
When activated, the outline of the circular brush is displayed beneath the cursor. You can change the radius of the brush by pressing Alt and using the mouse wheel. To paint a polygon, simply press and hold the left mouse button, then move the mouse. Release the mouse button to finish the new polygon.
Polygons that were drawn with the brush tool are best edited with the polygon eraser and fill tools. Head over to the next manual section to learn more.