back Creating Video Annotations
Learn how to create different kinds of video annotations.
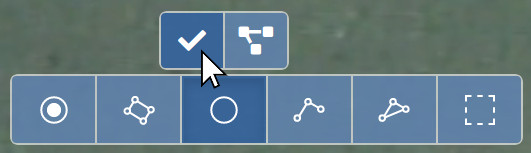
In many ways, video annotations are similar to the still image annotations that you might already be familiar with from the still image annotation tool of BIIGLE. The video annotation tool offers most of the annotation shapes that are available for still images. Learn more about these shapes in the manual article of the still image annotation tool. The ellipse shape is not available for video annotations.
Creating a video annotation works mostly the same as creating a still image annotation. First, you select a label from the label trees tab in the sidebar or enable LabelBOT, then you activate a tool in the tool bar at the bottom of the video and finally you draw the annotation in the video. But now comes an additional step. After you have drawn the annotation in the video, you have to finish it by clicking on the button that appears when a tool is activated. Only after a new annotation has been finished, it is created and saved.
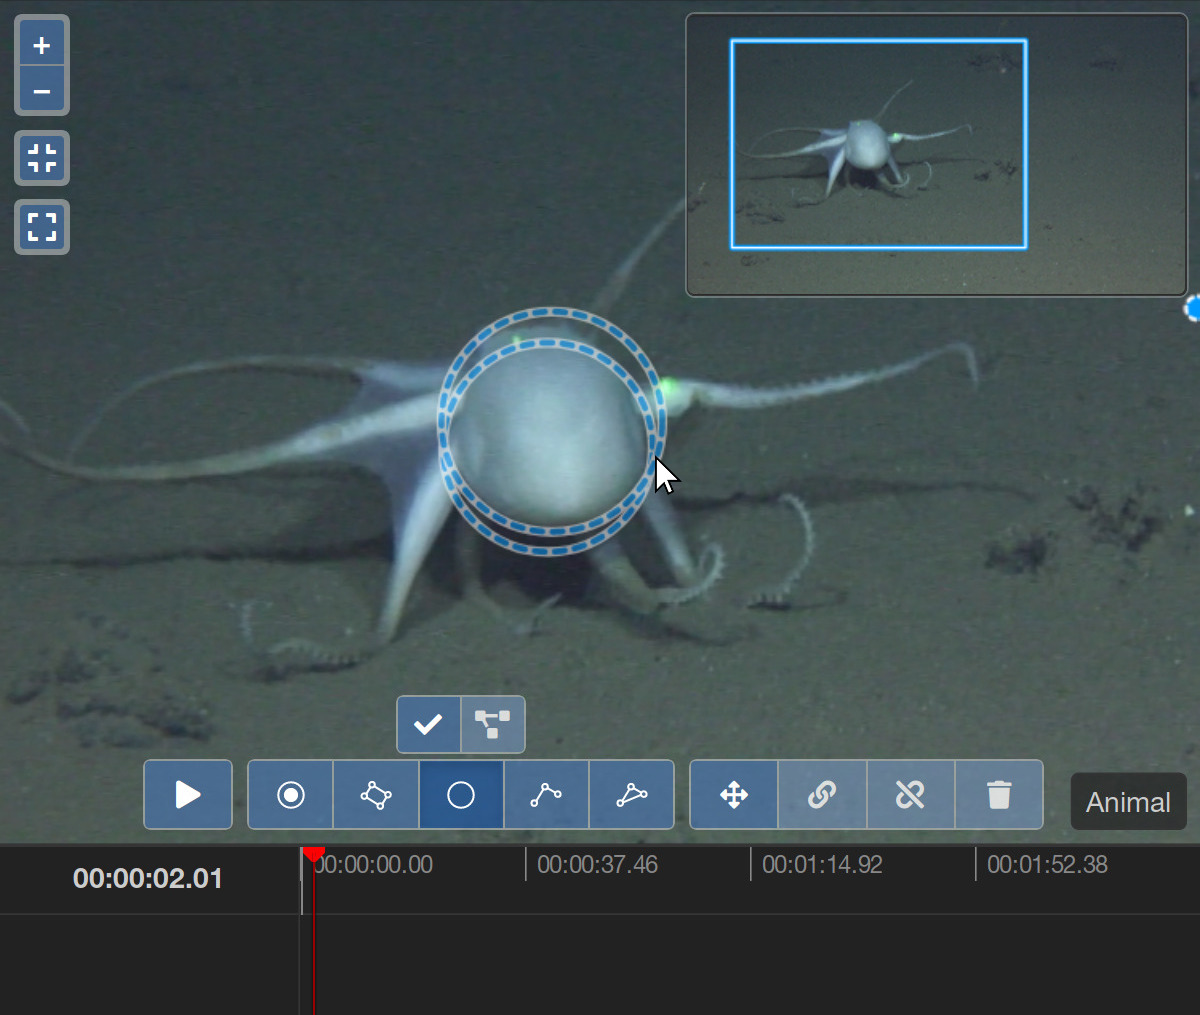
Congratulations, you have just created your first single-keyframe video annotation. A single-keyframe video annotation marks an object or a region of interest (ROI) in a single frame of the video. Most of the time, however, objects or ROIs are moving and visible in multiple frames of the video and you might want to model this with your annotations, too. This is where multi-keyframe video annotations, or simply annotation clips, come in and the video annotation tool begins to deviate from the still image annotation tool.
Annotation Clips
An annotation clip is composed of multiple keyframes. Each keyframe marks the object or ROI at a single point of time in the video. With several keyframes, an annotation clip can track an object or ROI while it changes its shape, size or position in the video.
Let's step through the process of creating a new annotation clip. Everything starts with the first keyframe of the annotation. Select a label from the label trees tab, activate a tool in the tool bar and draw the annotation in the video. But this time, don't finish the annotation yet. Instead, play the video and pause it again after a few seconds when your object or ROI has moved a bit. Now draw the annotation for the second keyframe, which matches the new position, size or shape of the object at the current time. Repeat this process and add new keyframes until the object or ROI is no longer visible in the video. Each keyframe remains slightly visible while the new annotation clip is created. Finally, finish the new annotation clip with a click on the button. When you return to the start of the annotation clip, you will see that the annotation follows the object or ROI that you have annotated, interpolating between keyframes.


Video source: [1]
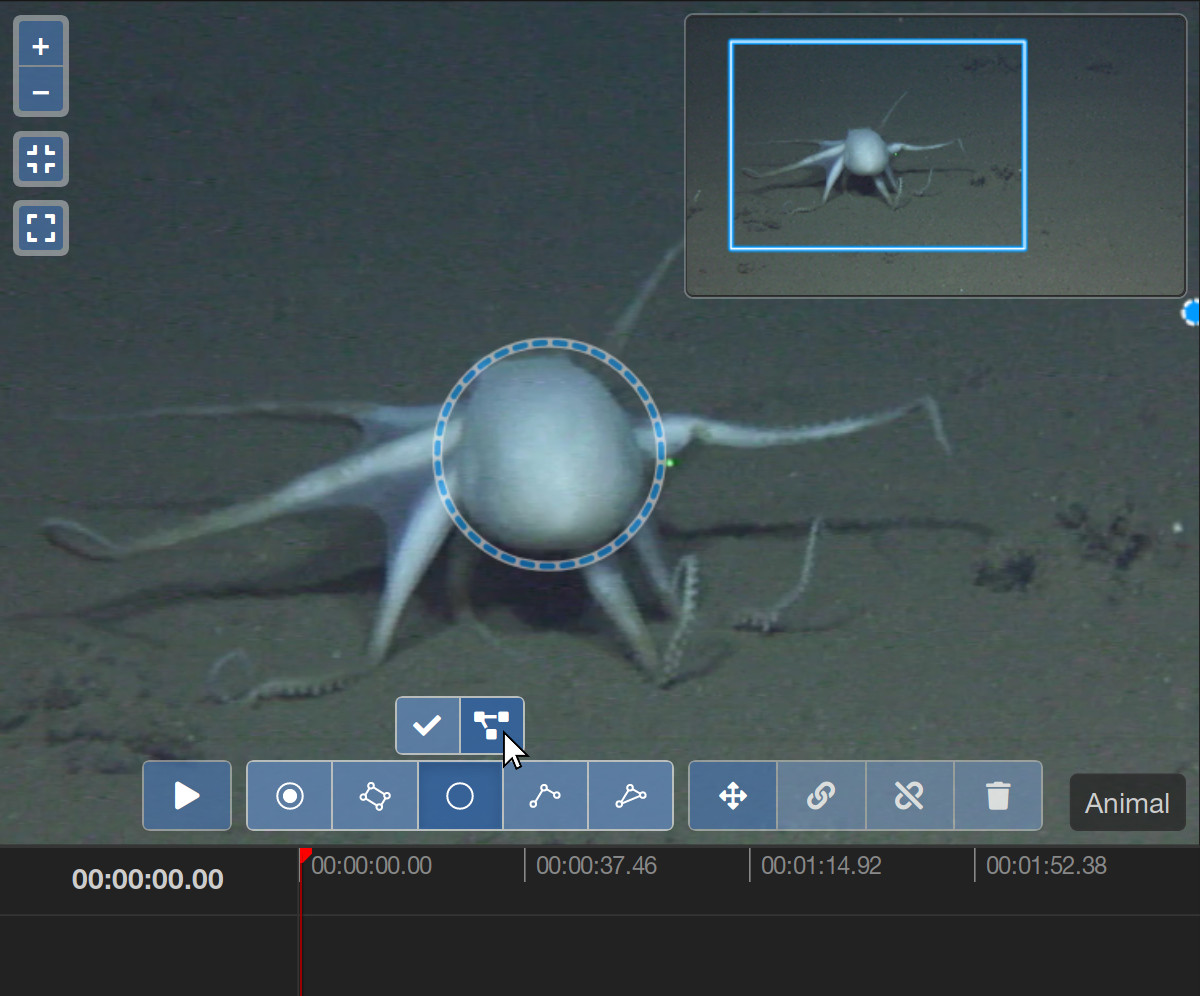
The video annotation tool provides a few features that help you create new annotation clips. One is play/pause while drawing, which you can configure in the settings tab of the sidebar. Another one is automatic object tracking.
Object Tracking
Automatic object tracking lets you create annotation clips more easily. The video annotation tool utilizes the CSRT object tracking method [2] which is able to automatically track an object or ROI in a video, starting from a manually provided position. Automatic object tracking is only available for the point and circle tools.
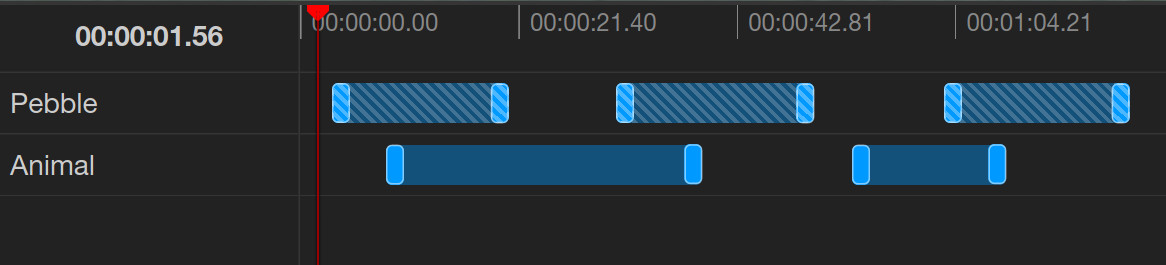
To apply automatic object tracking, create a single keyframe of a point or circle annotation clip that marks the object at the first point of time at which it is visible in the video. Now instead of finishing the annotation with the button, click the button. This creates the new annotation clip and starts object tracking in the background. A running object tracking is indicated by a keyframe element with a blinking red border in the timeline. Depending on the size of the video and the duration that the annotated object is visible, the object tracking can run for several minutes. The new annotation clip will automatically be updated when the object tracking has finished.

Video source: [1]
The result of the automatic object tracking may not always be perfect. Sometimes the tracked object may be lost and the annotation "wanders off" if the object moves too quickly. Or sometimes the tracked object becomes too small or indistinguishable from the background. If the annotation clip produced by the object tracking is only partly wrong, you can edit it afterwards. If the object tracking does not work at all, you might have to fall back to the fully manual creation of annotation clips.
Whole Frame Annotations
The whole frame annotation tool can be used to annotate whole video frames instead of points or regions in the video. It is located at the right of the annotation tool bar.

To initialize a whole frame annotation, click the button in the tool bar. The annotation is immediately initialized at the current time of the video. To create a single-keyframe whole frame annotation, click the button. To create a whole frame annotation that spans multiple video frames, play the video or select a later video time and then click the button. Whole frame annotations are only displayed in the video timeline and can be distinguished from regular annotations by their crosshatched background.
Read on and learn more about the video timeline.
References
-
Purser, Autun; Marcon, Yann; Hoving, Henk-Jan T; Vecchione, Michael; Piatkowski, Uwe; Eason, Deborah; Bluhm, Hartmut; Boetius, Antje (2016): Videos snippets of incirrate octopods observed during SONNE cruise SO242/2 to the DISCOL Experimental Area, Peru Basin. PANGAEA. doi:
10.1594/PANGAEA.865439 -
Lukezic, A., Vojir, T., ˇCehovin Zajc, L., Matas, J., & Kristan, M. (2017). Discriminative correlation filter with channel and spatial reliability. In Proceedings of the IEEE Conference on Computer Vision and Pattern Recognition (pp. 6309-6318). doi:
10.1109/CVPR.2017.515