back Getting Started
A quick introduction to the image annotation tool.
The image annotation tool can be used to navigate and explore images and their annotations. Project editors, experts or admins can also create new annotations as well as modify or delete existing ones.
You can access the image annotation tool by clicking on an individual image in the volume overview:
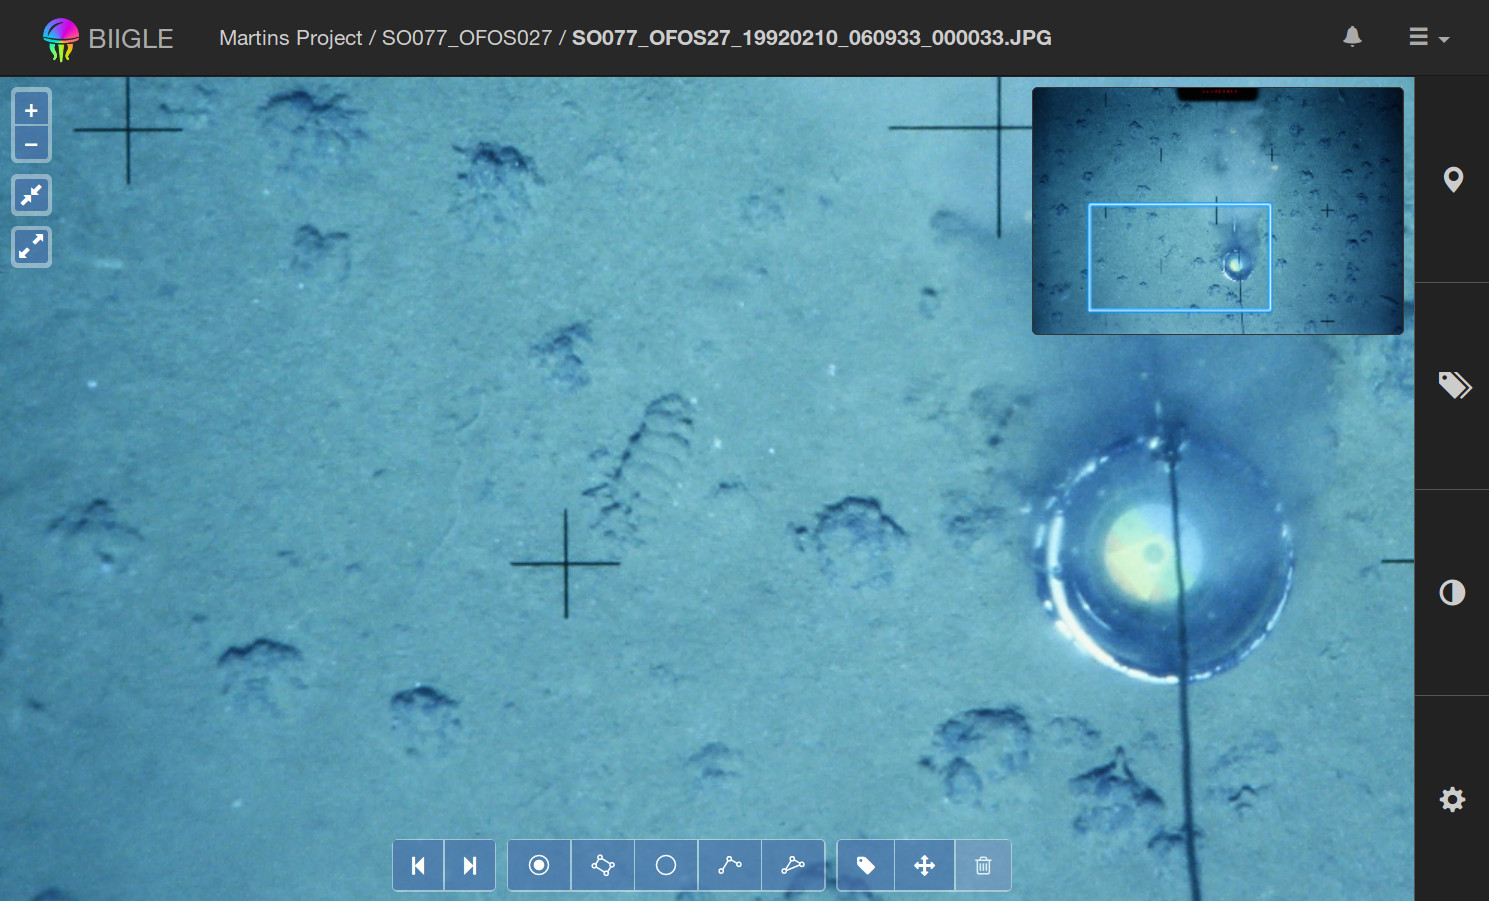
The main element of the image annotation tool is the image which you can navigate similar to an interactive map (like Google Maps). You can grab and move the image with the mouse or zoom in and out using the mouse wheel.
On the right there is the image annotation tool sidebar with different tabs like annotations, label trees, color adjustment or the settings. Open a tab by clicking on an icon.
On the top right over the image there is the minimap. It always shows the entire image and highlights your current viewport depending on the zoom level and position.
Finally, on the bottom there is the tool bar. Starting from the left there are the image navigation buttons (backward and forward), the annotation tools to create new annotations and the manipulation tools to edit existing annotations.
Let's create an annotation. First, select one of the labels from the label trees tab in the sidebar:
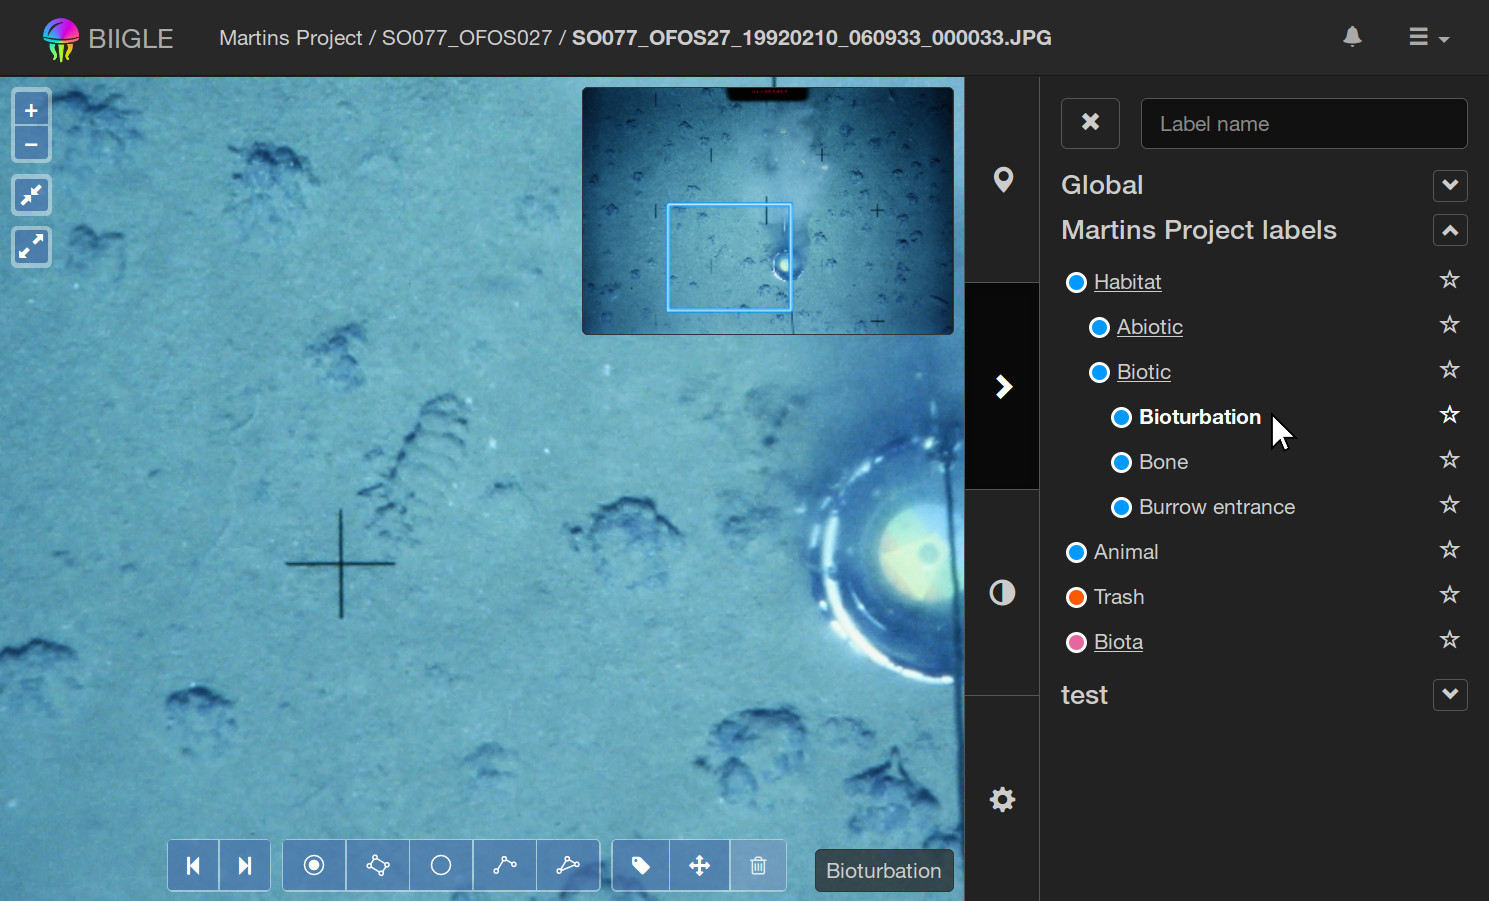
Note that the selected label is displayed on the bottom right of the image as well so you don't have to keep the sidebar open all the time.
Now select one of the annotation tools from the tool bar. Let's take the rectangle tool:

Finally draw the rectangle annotation by clicking multiple times on the image:

Now you should be able to use the annotation tool for basic tasks. But this was not all you can learn about the tool. Continue reading the other tutorials to become an expert annotator:
- Learn about all the tools that are available to create new image annotations.
- Learn about all the tools to modify or delete existing image annotations.
- Learn about advanced ways to navigate the images in the image annotation tool.
- All sidebar tabs of the image annotation tool explained.
- A list of all available shortcut keys in the image annotation tool.